Hey there! I'm part of a copper tube direct expansion system supplier team, and today I'm gonna walk you through how to install the expansion valve in a copper tube direct expansion system. This is a pretty crucial step in getting your system up and running efficiently, so let's dive right in!
Understanding the Basics
First off, let's quickly go over what a copper tube direct expansion system is. In simple terms, it's a refrigeration system where the refrigerant expands directly in the evaporator coils made of copper tubes. The expansion valve plays a key role here. It controls the amount of refrigerant flowing into the evaporator, ensuring that the system operates at the right temperature and pressure.
Tools and Materials You'll Need
Before you start the installation process, you'll need to gather some tools and materials. Here's a list:
- Expansion valve: Make sure you've got the right one for your system.
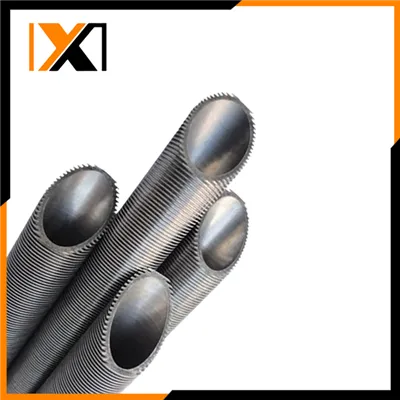
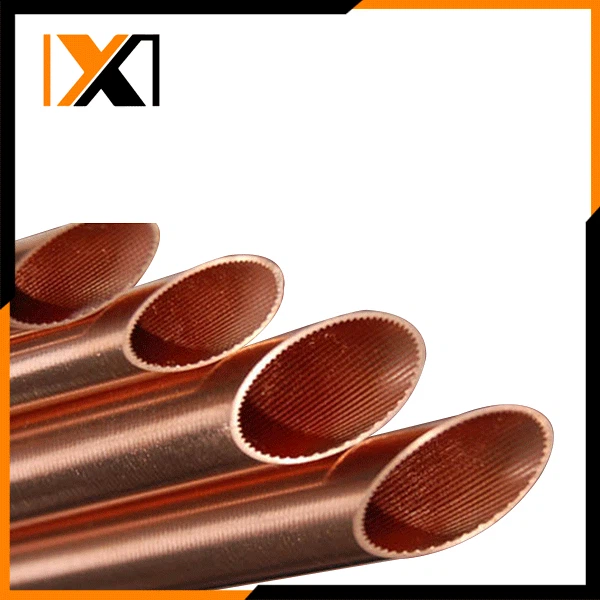
- Copper tubing: We offer a variety of options, like Smooth Copper Tube, Copper Falling Film Evaporator Tube, and Copper Inner Grooved Tube. Pick the one that suits your needs.
- Flux and solder: For joining the copper tubes.
- Pipe cutters: To cut the copper tubing to the right length.
- Wrenches: Different sizes for tightening connections.
- Torch: For soldering the joints.
- Pressure gauges: To check the pressure in the system.
Step 1: Prepare the Area
The first thing you gotta do is prepare the area where you'll be installing the expansion valve. Make sure it's clean and free of any debris. You also want to have enough space to work around the valve and the copper tubing. Turn off the power to the refrigeration system to avoid any accidents.
Step 2: Cut the Copper Tubing
Next, you'll need to cut the copper tubing to the appropriate lengths. Use the pipe cutters to make clean, straight cuts. Measure twice, cut once, as they say! You want the tubing to fit perfectly with the expansion valve and the other components of the system.
Step 3: Clean the Tubing Ends
After cutting the tubing, clean the ends thoroughly. You can use a wire brush or sandpaper to remove any oxidation or dirt. This is important because it ensures a good solder joint later on.
Step 4: Apply Flux
Once the tubing ends are clean, apply a thin layer of flux to the outside of the tubing and the inside of the valve connections. Flux helps the solder flow evenly and creates a strong bond between the copper and the valve.
Step 5: Position the Expansion Valve
Now it's time to position the expansion valve. Place it in the right spot between the liquid line and the evaporator. Make sure it's level and aligned properly. You can use a level to check if it's straight.
Step 6: Join the Tubing to the Valve
Carefully insert the cleaned and fluxed tubing ends into the valve connections. Hold them in place and use the torch to heat the joint. Once the joint is hot enough, apply the solder. The solder should melt and flow into the joint, creating a tight seal. Be careful not to overheat the valve or the tubing.
Step 7: Tighten the Connections
After soldering, let the joints cool down. Then, use the wrenches to tighten the connections between the valve and the tubing. Don't over - tighten, though, as it could damage the valve or the tubing.
Step 8: Check for Leaks
Once all the connections are made, it's time to check for leaks. You can use a pressure gauge to check the pressure in the system. If the pressure drops, there's likely a leak. You can also use a soapy water solution and apply it to the joints. If you see bubbles forming, that means there's a leak, and you'll need to fix it.
Step 9: Install the Bulb
The expansion valve has a bulb that senses the temperature at the outlet of the evaporator. Install the bulb on the suction line near the evaporator outlet. Make sure it's in good contact with the tubing and is insulated properly. This helps the valve regulate the refrigerant flow based on the temperature.
Step 10: Final Checks
Before you turn the system back on, do a final check of all the connections and the installation. Make sure everything is secure and in place. Check the pressure gauges again to ensure the system is operating within the right parameters.

Troubleshooting
If you run into any issues during the installation or after the system is running, here are some common problems and solutions:
- Low refrigerant flow: This could be due to a clogged expansion valve. You may need to clean or replace it.
- High pressure: It could be a sign of a blockage in the system or an incorrect valve setting. Check the pressure gauges and adjust the valve if necessary.
- Leaking joints: If you find a leak, you may need to re - solder the joint or tighten the connection.
Why Choose Our Copper Tubes
We're a reliable supplier of copper tubes for direct expansion systems. Our tubes are made from high - quality copper, which ensures good heat transfer and durability. Whether you need Smooth Copper Tube for general applications, Copper Falling Film Evaporator Tube for specific evaporator designs, or Copper Inner Grooved Tube to enhance heat transfer, we've got you covered.
Contact Us for Purchasing
If you're interested in our copper tubes or have any questions about the installation process, feel free to reach out. We're here to help you with your copper tube direct expansion system needs. Whether you're a DIY enthusiast or a professional installer, we can provide you with the right products and support.
References
- ASHRAE Handbook of Refrigeration.
- Refrigeration and Air Conditioning Technology by William C. Whitman, William M. Johnson, and John Tomczyk.